





Common screen printing ink problems and how to fix them
This guide helps diagnose defects based on when they appear, from the print stroke through drying, curing, and wash testing. Each section explains what to look for, what to check, and how to correct the problem before resuming production.
A white logo printed on red fabric may show the base color immediately after the print stroke, or it may print bright white and turn pink after curing. In the first case, check ink opacity. In the second, check whether dye has migrated from the fabric into the ink film. Recording when a defect appears and comparing it with an acceptable print helps the shop decide whether to check the ink, screen, press setup, or dryer settings first.
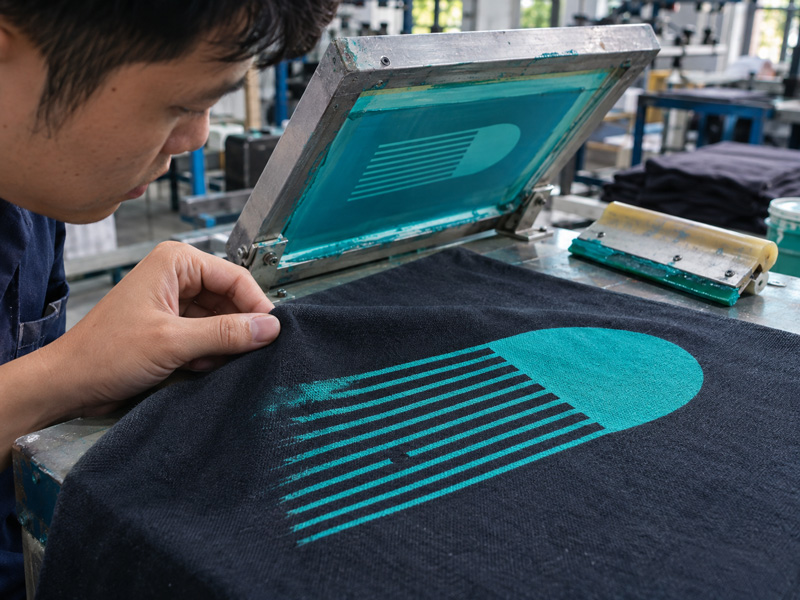
Clogged mesh, lost detail, or incomplete prints
1. Symptoms
The first print shows all the details, but fine lines gradually disappear on later prints, especially after a press stoppage. Water-based and solvent-based inks can dry in the mesh openings. If the defect appears on the first print, check whether the image-area mesh openings cleared fully during stencil washout.
2. How to fix it
Stop printing and clear the blockage with a cleaner compatible with both the ink system and the stencil. During short pauses, use a flood stroke to keep the image area covered with ink. For longer stoppages, remove the ink and clean the screen. Keep hot air from the flash dryer from blowing directly onto the mesh. If you use a retarder, follow the dosage specified in the ink’s technical data sheet (TDS).
Blurred edges, filled-in details, or double images
1. Symptoms
Letter edges spread, small open spaces fill in, or the print shows two offset outlines. Ink that is too thin, excessive squeegee pressure, and slow screen release can cause blurred edges. If double outlines appear after several print strokes, check the substrate, platen, and screen clamps for movement.
2. How to fix it
Clean the underside of the screen, secure the substrate, and check mesh tension, off-contact distance, and the condition of the squeegee edge. Use just enough squeegee pressure to transfer the ink evenly and allow the mesh to release from the substrate immediately behind the blade. If the problem began after thinning the ink, run a comparison print with unmodified ink before adjusting the formula.
Stray ink spots outside the image area
1. Symptoms
Ink spots recur in the same positions across several prints. Hold the screen up to a light to look for pinholes in the stencil or holes in the mesh. If the spots move from print to print, check for ink buildup on the underside of the screen and review how the substrate is loaded and unloaded.
2. How to fix it
Seal pinholes outside the image area with a screen blockout or screen tape compatible with the ink system. Replace the screen if the stencil has widespread damage or the mesh is torn. Before making a new stencil, degrease the mesh and clean the exposure unit glass to reduce the chance of recurrence.
Poor opacity and substrate show-through
1. Symptoms
The fabric color shows through the ink layer immediately after printing. Check the ink’s opacity, the amount of ink deposited through the mesh, and the proportion of any additives used.
2. How to fix it
Use a high-opacity ink or a compatible underbase on dark fabrics. If the ink deposit is too thin, check the mesh count, stencil thickness, and squeegee settings. For a suitable ink system, try printing one pass, flash-drying it, and printing a second pass. After increasing the ink deposit, recheck edge definition, hand feel, and whether the thicker ink layer cures fully.
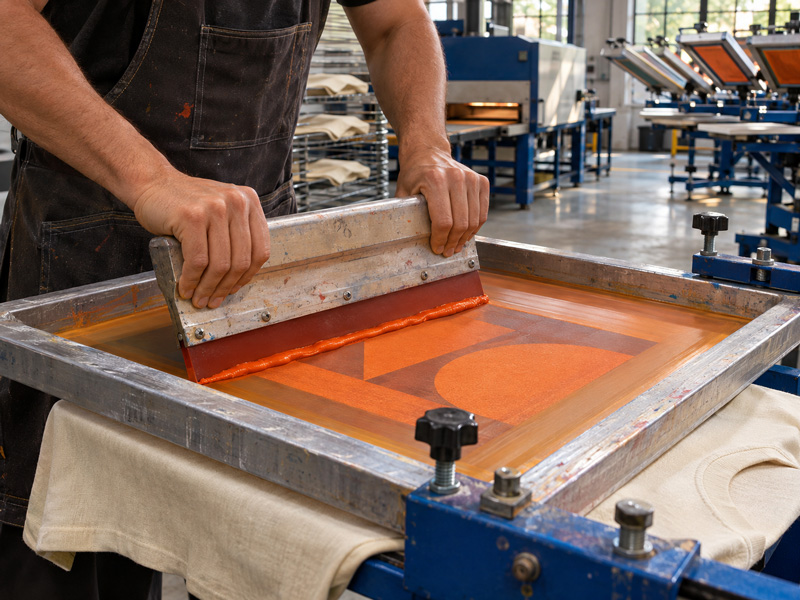
Dye migration into light-colored prints on polyester
1. Symptoms
A white or light-colored print changes shade after curing. The discoloration may become more noticeable after the sample has been stored. On dyed polyester and polyester blends, heat can cause dye to migrate from the fabric into the ink layer.
2. How to fix it
Test on the actual fabric lot scheduled for production. Select a low-bleed ink or a compatible dye-blocking underbase. If the process calls for less heat, use a low-cure ink system and verify that the ink film still meets its full cure requirements. Let the printed pieces cool before stacking them. Retain a sample and recheck its color after storage before approving the production run.
Cracking, peeling, or fading after washing
1. Symptoms
The ink film cracks when stretched, peels off in patches, or loses color after washing. Check the cure settings, additive ratios, and whether the ink can stretch with the fabric being printed. If the print merely looks faded at the surface, use a magnifier to see whether fabric fibers are protruding through the ink film.
2. How to fix it
For plastisol ink, measure the actual ink film temperature with a suitable probe and compare it with the TDS. The dryer setpoint is only a machine setting. For heat-cured water-based inks, verify moisture removal as well as cure temperature and time. Adjust conveyor speed or dryer settings based on the measurements. After the waiting period specified for the ink, perform wash and stretch tests suited to the product’s intended use.
Poor ink adhesion on plastic, glass, or metal
1. Symptoms
The ink film looks dry but comes off easily during a scratch test or tape test. Check ink compatibility with the substrate, the condition of the surface, and the drying or curing conditions. Oil, dust, or plastic surfaces that have missed the required pretreatment can reduce adhesion.
2. How to fix it
Clean and pretreat the substrate as specified for the ink. Depending on the ink system, check the time allowed for solvent evaporation, the hardener ratio for two-component inks, or the UV dose for UV-curable inks. Once the ink film has stabilized, use an adhesion test suited to the substrate and product requirements. A cross-hatch tape test can be used on suitable rigid surfaces.
Conclusion
When a defect appears, keep an acceptable print and a defective one, record when the defect occurs, and change one parameter at a time. After each adjustment, print again on the same material lot and check the result at the stage where the defect appeared. Approve full production only after the sample meets both visual and applicable durability requirements.
